2024. 3. 2. 21:29
Windows 10 (or 11) 업데이트 에러 발생할때 조치법 Tip & Tips/Windows2024. 3. 2. 21:29
윈도우즈 10에서 업데이트가 실패해서 여러가지 방법을 찾았는데, 윈도우즈 11에서도 업데이트 오류가 동일하게 발생했다. 윈도우즈 11에서는 윈도우즈 업데이트가 발생했은때, 여지것 한번도 사용하지 않았던 윈도우즈 셋팅에 있는 "문제 해결" 메뉴를 이용하여 해결하였다.
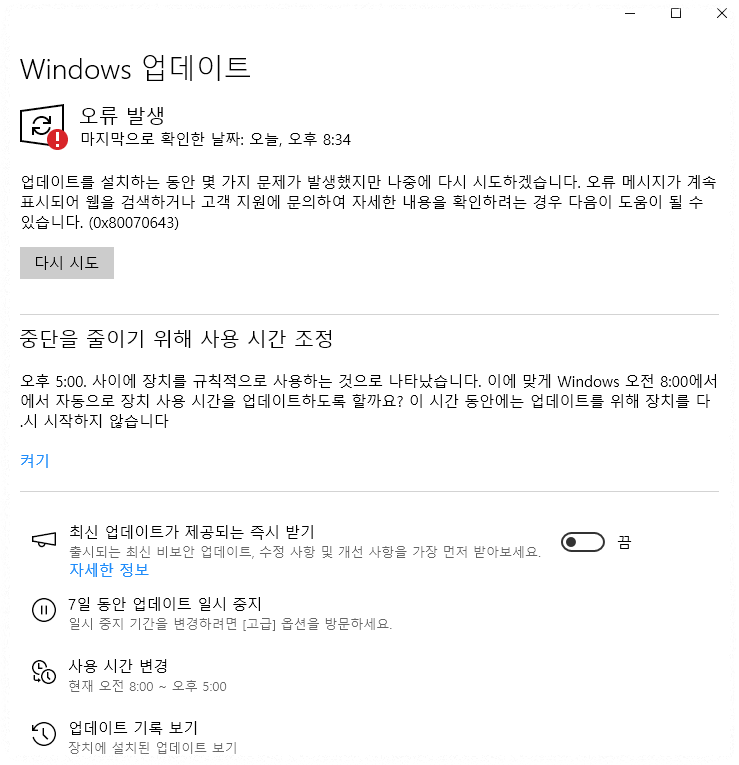
그래서 아래와 같은 윈도우즈 업데이트 창에서 업데이트를 실행하면 아래의 이미지와 같이 업데이트 에러가 보인다.
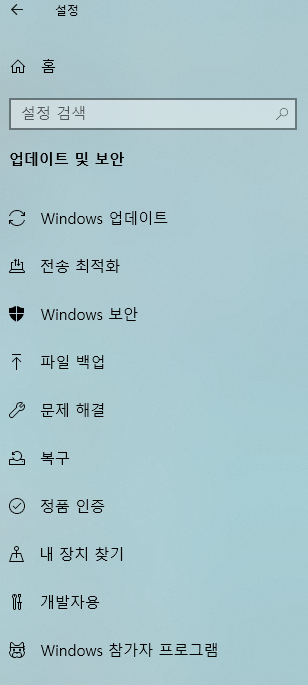
이때 창의 왼쪽 중간부근에 있는 문제 해결 메뉴를 선택하고, 나오는 화면에서 "추가 문제 해결사"를 선택한다.
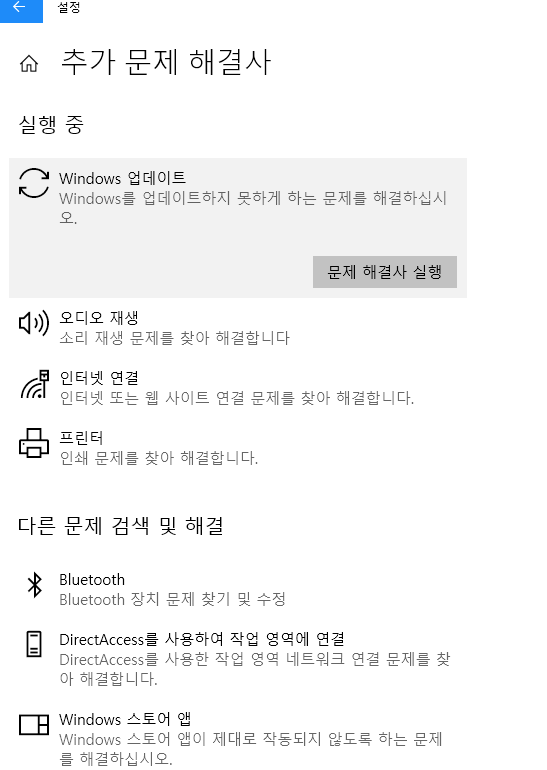
그러면 아래의 화면으로 바뀌는데, 여기서 "Windows" 업데이트"를 클릭하고, "문제 해결사 실행"버튼은 누르면 된다.
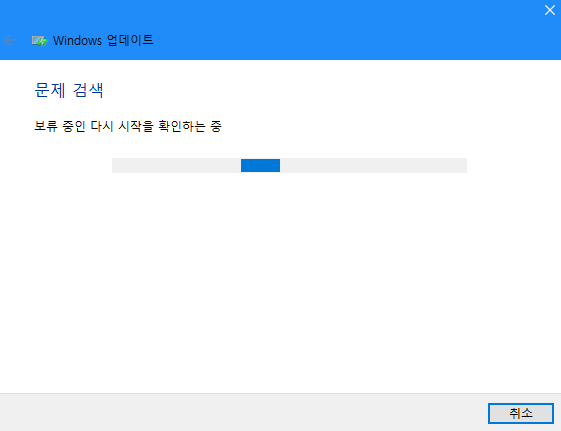
실행 버튼을 누르면 아래과 같이 진행 상태고 모이고 자체적으로 이슈가 되는 내용들을 점검하게 된다.
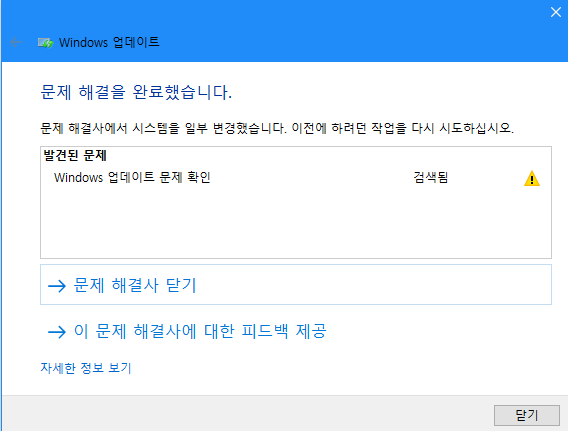
그리고 아래과 같이 Windows 업데이트에서의 문제를 해결해 준다.
'Tip & Tips > Windows' 카테고리의 다른 글
| Windows 11 업그레이드 하기 (1) | 2024.03.02 |
|---|---|
| Windows의 kill 명령어 사용(2): Stop-Process and wmic (2) | 2018.11.21 |
| Windows의 kill 명령어 사용(1): Taskkill (0) | 2018.11.18 |
| PC의 속도를 올리는 5가지 방법(5 ways to speed up your PC) (0) | 2009.01.18 |